Objective:
In this How-To, we will learn about the best way to create a Birthday Postcard in Core iQ. We will explore the following topics:
- How to make a 4x6” Birthday Postcard using a Core iQ template

For this How-To article, we will be automating a Birthday greeting schedule for our financial institution. The first part of this tutorial will explore how to create a customized 4x6” Birthday card, which will be sent to our customers automatically through Core iQ. We will start our process by creating a new template within Core iQ by going to the Communications Template area within the Communications dropdown menu. This will bring you to an area that houses all of the pre-made templates that Core iQ has to offer. You can sort the templates using the dropdown lists at the top to find postcards, letters, and emails relating to a variety of occasions. In this case, we will want to set the Design Category to Event and the Template Type to Direct Mail Postcards. Browse through this list and choose a template that looks best for your financial institution.
Once you have chosen your postcard, you will be brought to the Settings area for the chosen communication. Here we can set the name of the template to something like “Customer Birthday Postcard” and then we can set the area labeled Customer Receives No More Than Once Within to “180 Days”. This second setting will help us ensure that we don’t accidentally send our customer two Birthday greetings within a single year. We will leave the Compliance section set to No for the moment, as we are still working on our postcard and we don’t want to mark it as Active quite yet.
Now we are ready to move on to editing the postcard itself. We can skip the Electronic Alternative area for this project, since we just want to send only postcard versions of this communications. Regularly we would be able to use this area to set a priority for an email version of this template in order to save money if a customer had an email on file. However, since this is an annual communication for a special occasion, we will make our customers feel extra special by sending them a physical direct mail postcard. We don’t need to edit the Front of our postcard, as we have already chosen a template for that, so let’s navigate to the Back.
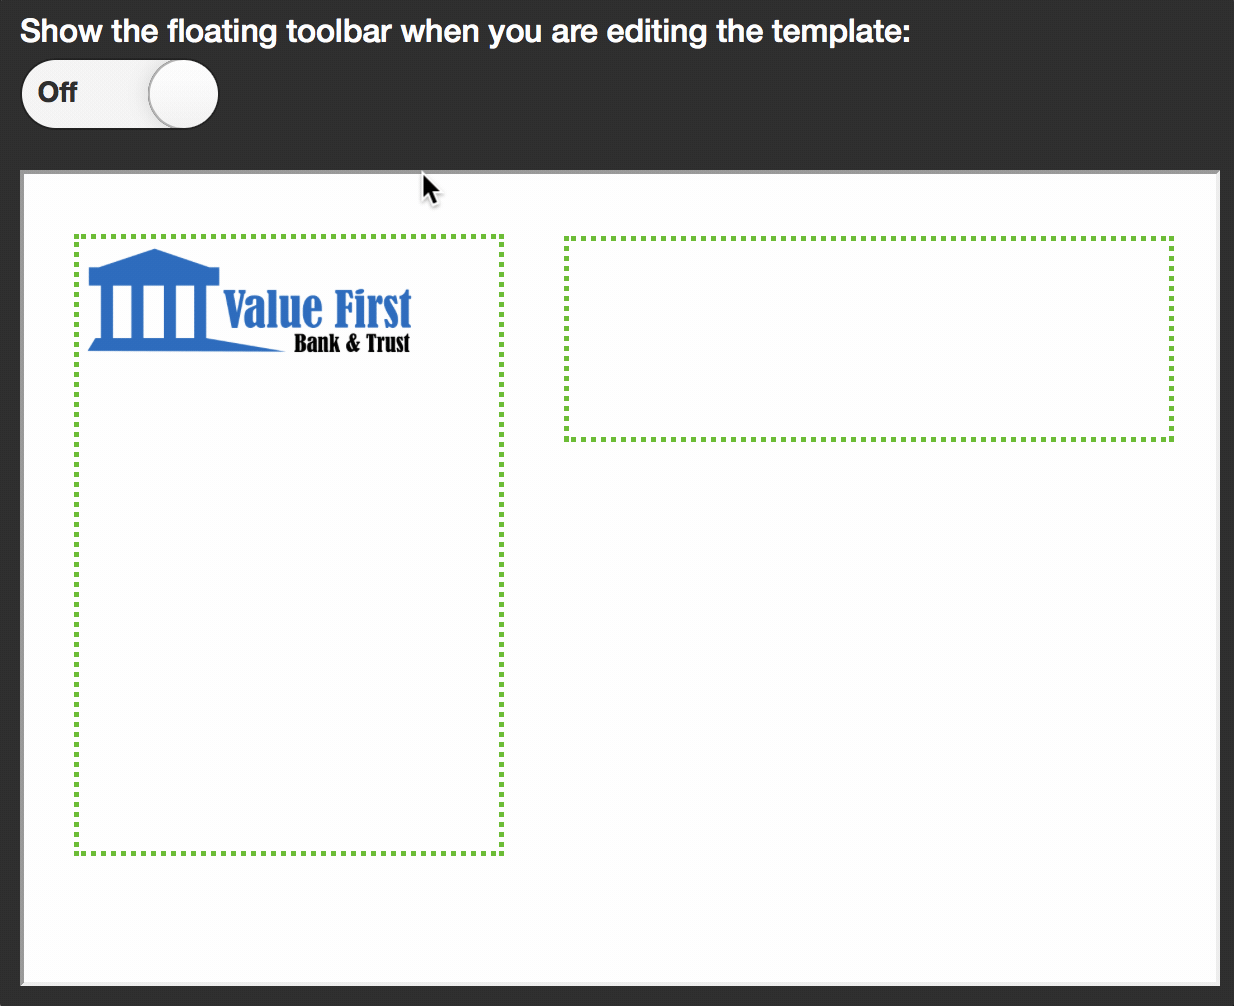
Here, we can use the Core iQ template editor to place a Happy Birthday message for our customer to receive on their special day. You will notice that there are two highlighted areas on this interface, which are outlined in green. These are our editable content areas, where we can type our message and where we can add any custom merge fields to dynamically populate content. We limit our content to these areas so that you don’t have to worry about overlapping the mailing address area or losing any of your copy to print bleed. While you can obviously add your own copy to this area, we have included an example version in this tutorial for you to use if you want.
Your birthday is such a fantastic day.
We are so happy to be able to celebrate this very special time with you. Every one of us hope that your birthday is filled with the love and laughter of those you care most about.
From all of us here at [Bank_Name], we wish you the most happy of birthdays!
[Banker_Full_Name]
Once you are happy with what you have placed on the back of the postcard, you can click the Save & Preview button to be taken to a digital preview of your postcard. Core iQ will dynamically populate all of the relevant merge fields with information so that you can see an example of what the postcard will look like once it is sent. We highly recommend downloading a PDF version of this proof using the Proofs & Review button of the left. This will give you the best view of your direct mail piece, and is perfect for sending to others for review.
After you have fully reviewed the template and made any additional edits, go ahead and have someone with the Compliance role mark the template as Active in the Settings area. This will allow us to move on to creating our automated schedule, which we will tie the template to. This schedule will allow us to set a given timeframe before a person’s birthday in which to send their personalized postcard.